##一、先安装zabbix_agentd客户端(以zabbix2.4.6为例)
1.1解压zabbix-2.4.6.tar.gz
tar -xzvf zabbix-2.4.6.tar.gz
1.2 进入解压目录
cd zabbix-2.4.6
1.3 编辑安装
./configure --prefix=/usr/local/zabbix --enable-agent --with-net-snmp --with-libcurl --with-openipmi
-
常见问题与解决方案
configure: error: Not found mysqlclient library
#yum -y install mysql-develconfigure: error: LIBXML2 library not found
#yum -y install libxml2-develconfigure: error: unixODBC library not found
yum -y install unixODBC-devel
configure: error: Invalid Net-SNMP directory - unable to find net-snmp-config
#yum -y install net-snmp-develconfigure: error: Invalid OPENIPMI directory - unable to find ipmiif.h
#yum -y install OpenIPMI-develconfigure: error: Curl library not found
#yum -y install curl-devel -
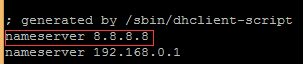
如果出现Couldn’t resolve host 'mirrors.pubyun.com,问题可能是DNS服务器错误,解决办法为:修改/etc/resolv.conf,添加8.8.8.8

1.4 安装 make && make install
-
创建zabbix用户和组
groupadd zabbix
useradd -g zabbix zabbix -
给启动项赋予权限 chown -R zabbix:zabbix usr/local/zabbix/sbin/zabbix_agentd
-
设置快捷启动方式 ln /usr/local/zabbix/sbin/zabbix_agentd /etc/init.d/zabbix_agentd
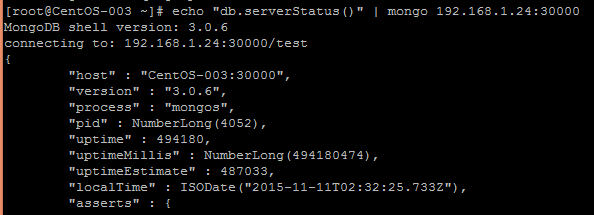
1.5.在mongodb服务器上运行echo “db.serverStatus()” | mongo 192.168.1.24:30000查看状态
1.6.修改zabbix_agentd.conf客户端配置文件
- 将server修改为服务器ip,例192.168.1.17
- 添加
UserParameter=MongoDB.Status[*],/bin/echo “db.serverStatus().$1” | /home/mongodb/mongodb/bin/mongo 192.168.1.24:30000 | grep “$2”|awk -F: ‘{print $$2}’|awk -F, ‘{print $$1}’


1.7.重新启动zabbix_agentd
/etc/init.d/zabbix_agentd restart
1.8.在web页面添加监控模板

-
设置模板名称等
-
找到模板的 items
-
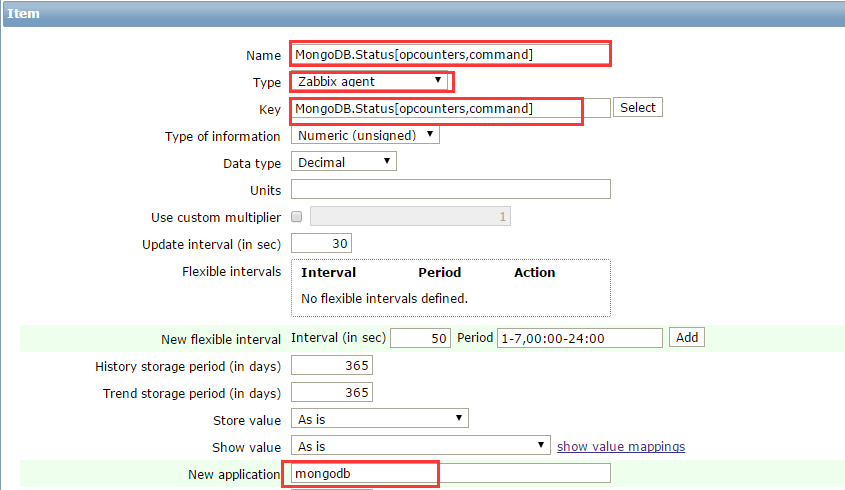
创建items监控项
-
设置监控项名称与值
-
最后在主机中导入模板即可